
Arduino
Code
Touch sensor detects touch that makes
their way into many applications like mobile phones, remote controls, control panels, etc.
Present day touch sensors can replace mechanical buttons and switches.
Touch sensor Types
1.)Capacitive Touch Sensor
2.) Resistive Touch Sensor
3.) Infrared Touch Senssor
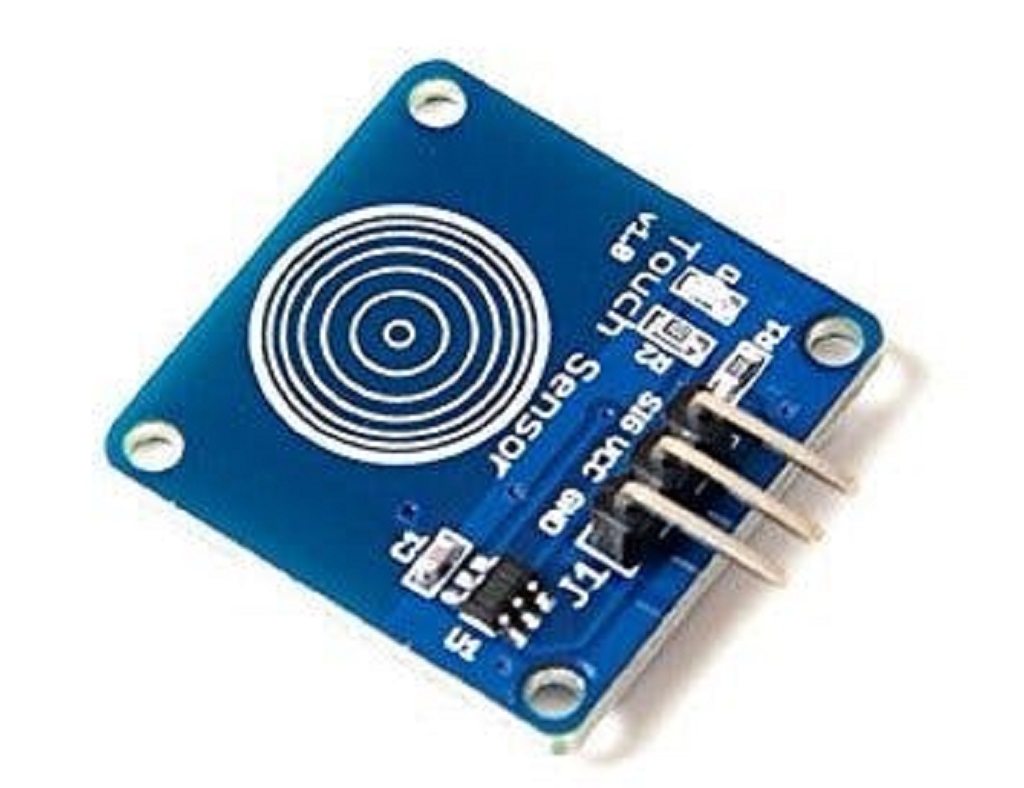
In this project we are going to deal with Capacitive Touch Sensor
Touch sensor Types
1.)Capacitive Touch Sensor
2.) Resistive Touch Sensor
3.) Infrared Touch Senssor
In this project we are going to deal with Capacitive Touch Sensor
Hardware Requirements
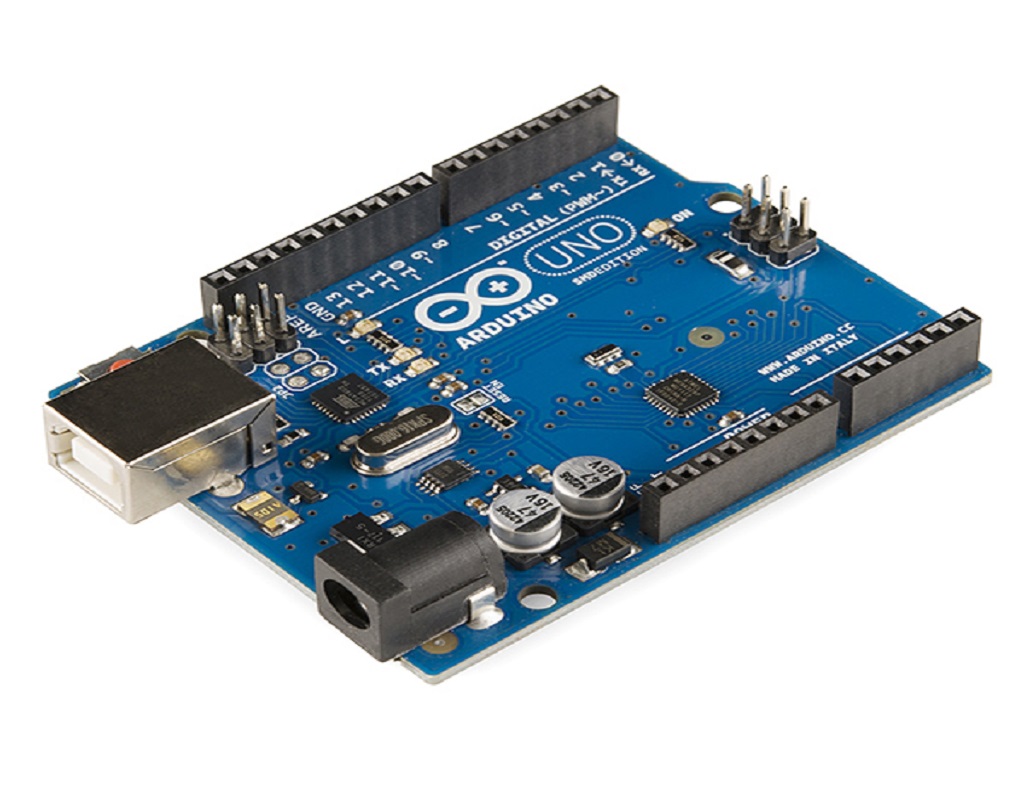

Arduino Uno
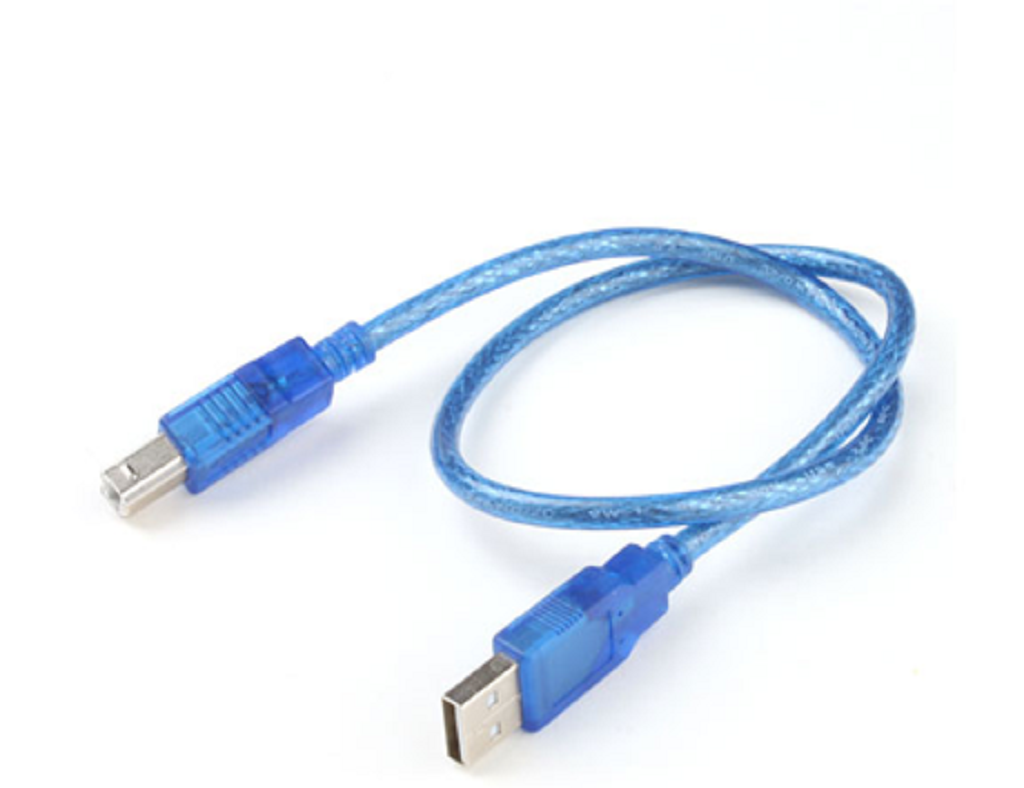
Arduino Uno USB Cable
Capacitive Touch Sensor
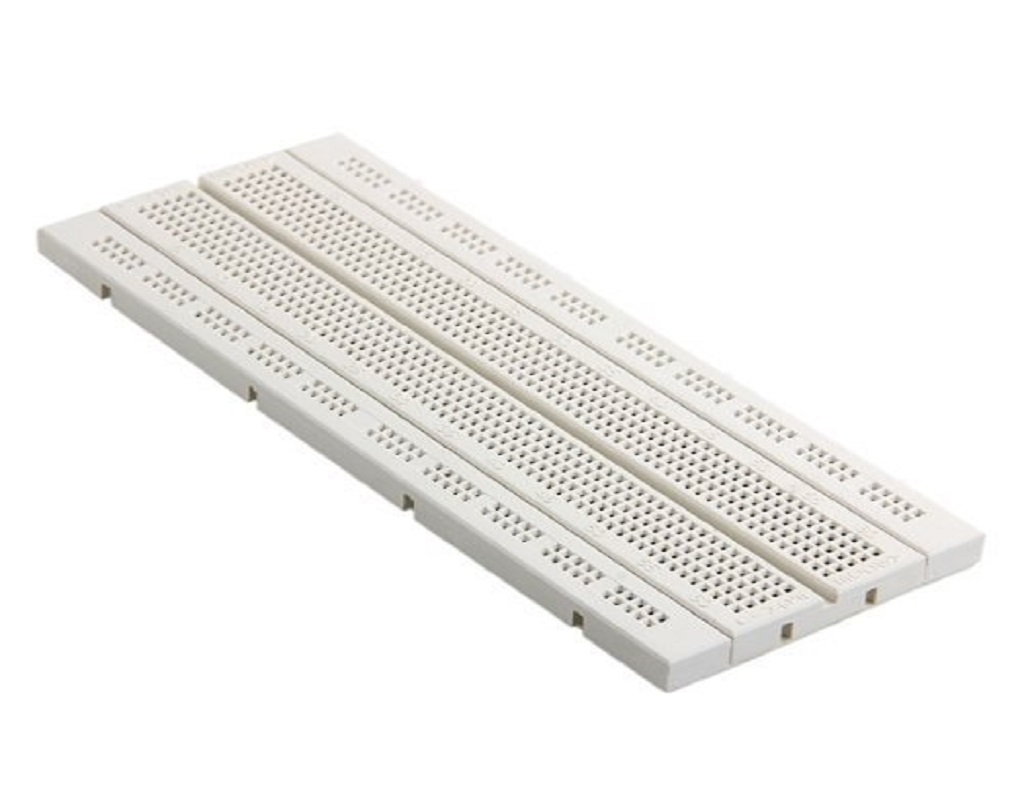
Breadboard
Jumper Wires
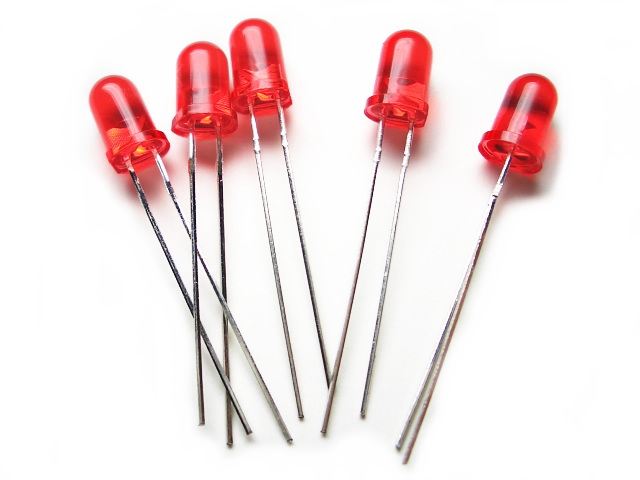
Red Led Bulb
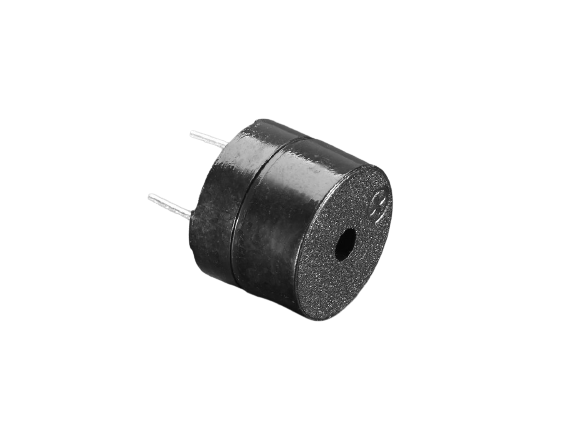
Buzzer
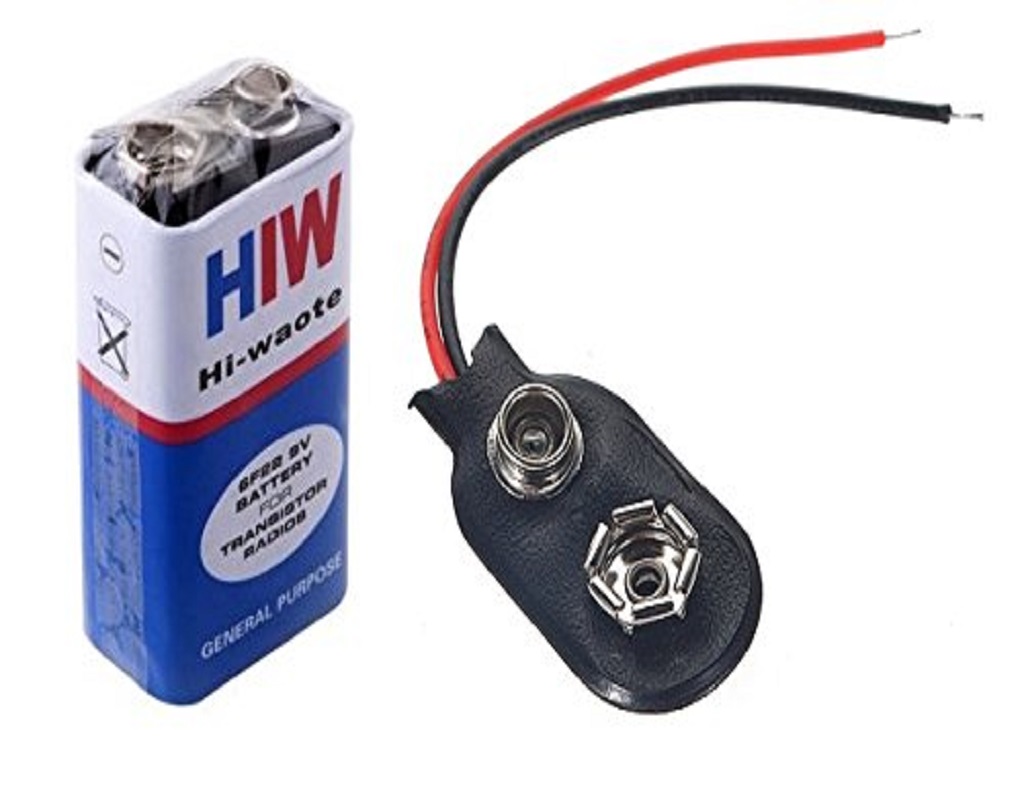
Battery
Software Requirements
Download the Arduino IDE and complete its installation. (Download )
Code
Run the below given code in the Aurduino IDE
On successfull debug of code upload the code in the arduino with the help of arduino usb cable
On successfull debug of code upload the code in the arduino with the help of arduino usb cable
          int TouchSensor=3;                                  //Connected to digital pin D3
          int led=13;
          int buzz=12;
          void setup()
          {
            Serial.begin(9600);                                // Communication speed
             pinMode(led,OUTPUT);
             pinMode(buzz,OUTPUT);
             pinbMode(TouchSensor,INPUT);
          }
          void loop()
          {
             if(digitalRead(TouchSensor)==HIGH)                //Read Touch Sensor Signal
              {
                digitalWrite(led,HIGH);                        // If touch is HIGH, then turn on
                digitalWrite(buzz,HIGH);
               }
          else
               {
                 digitalWrite(led,LOW);                        //Touch Sensor is LOW , then turn off the LED
                 digitaalWrite(buzz,LOW);
                }
          delay(100);
          }
Hardware Connection
2.) Vcc Pin to 5V Pin of the arduino uno board
3.) GND Pin to GND Pin of the arduino uno board
2.) Led -ve Pin to GND of the arduino uno board
2.) Buzzer -ve Pin to GND of the arduino uno board
Capacitive Touch Sensor:
1.) SIG Pin to D3 Pin of the arduino uno board 2.) Vcc Pin to 5V Pin of the arduino uno board
3.) GND Pin to GND Pin of the arduino uno board
Led Connection
1.) Led +ve Pin to D13 of the arduino uno board 2.) Led -ve Pin to GND of the arduino uno board
Buzzer Connection
1.) Buzzer +ve Pin to D12 of the arduino uno board 2.) Buzzer -ve Pin to GND of the arduino uno board
Connect your battery for a power source
Video
Now its time to turn on power source and test the setup
Use of the Project
1.)Door Security
2.) Luggage Security
2.) Luggage Security
Github Code Repository
It's time to implement the project- CODE
Baliram Pansare